Step-by-step instructions on how to create a system moment after you've completed your Canvas. A canvas alone cannot be placed in a simulation for learners, so you must set up a System moment. This is also a crucial step in testing your canvas.
- First, name your Moment.
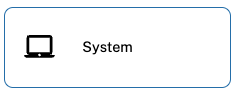
- From the Moments menu in the Admin console, select the 'System' box as the Moment Type.
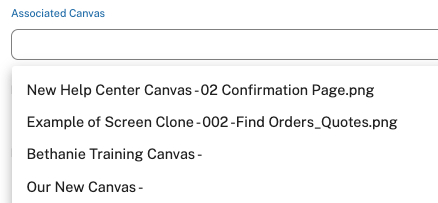
- Select the 'Associated Canvas'. This is where you pull in one of the canvases in your library that you want the learner to navigate. When you click on the box, the most recently edited canvas will populate but you can also begin searching the canvases by name if you don't see the one you are looking for. To learn more about how to create Canvases please see our articles about Canvas Building.
- Next, you must set thresholds to pass this moment. If the learner does not meet these thresholds, they will have to do the exercises again. This is where you can really start to measure proficiency and accuracy in your systems.
- Lifeline Count - Enter the number of times you'll allow the learner to ask for help and hints. If you decide you do not want to set a limit for this, we recommend putting in a high number like 99. You must enter a numeric value in this field in order to create this moment type.
- Duration to Pass - This is different than the time that it takes to complete the moment. This is where you can actually put a time limit on the exercise and if they do not complete the transaction in this amount of time, we will serve the simulation up to them again. This field must be entered in time format: mm:ss. Again, if you don't want to set a limit, input a really long time like 99:99.
- System Error Threshold number- This will measure how many times the learner has an error on screen when trying to move on. Similar to lifeline count, you must enter a numeric value and if you don't want to set a limit we recommend entering a high number like 99.

- Next, enter the Duration. This is the time it will take the average learner to complete the exercise. For system moments, it's important to input the time you think it SHOULD take them to complete the transaction. Keep in mind, if you decide to overlay an audio recording over the system moment so that the learner has to navigate the system while listening to a live call, be sure to put the duration of the call recording as the Duration for this moment. Lastly, the Duration does not have to be listed in a particular format (ie. 00:00 or 5 Minutes). This is a text field so you can type whatever format makes sense. Just be sure to be consistent throughout the building process.

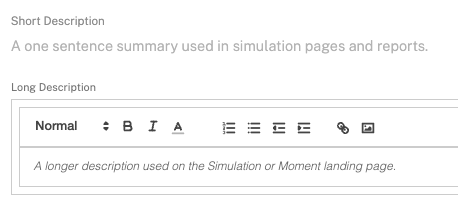
- Now enter the Short and Long description. The short description is mostly for the Admins and Coaches who will use this summary as a way to quickly see what the moment entails while building simulations or perusing the reports. The long description will be learner-facing prompt and should include the instructions about what the learner can expect during a system simulation. It's important to be descriptive in the Long description to give as much detail and direction to the learner.
- The coach guidance is not necessary for a system moment since the platform will automatically be measuring proficiency and handle time according to the thresholds that you set above.
- Assign a Team Tag. This is not required however we do recommend tagging your content to the specific Admin team that this content is intended for. As you and your organization grow with the platform, this is the easiest way to organize content for your division, region, etc. To learn more about content tagging, see this related article.
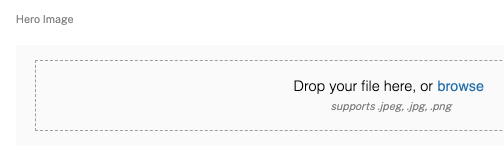
- Next, add a Hero Image. The hero image will be the backsplash image that is shown behind the Long Description when they first enter the simulation. If you do not add a Hero image, this will just be a blank, grey screen so we recommend always adding this to every moment type. The preferred dimensions for Hero images is 3840x1700px and we support .jpeg, .jpg, .png files. If you are struggling to find images, please contact your account manager who can guide you to the Bright Image library where you will find a large collection of perfectly sized images for every place in the platform.
- Only add a Thumb image if your Moment will be pinned to the Home Page. You have ability to highlight Moments that you want to live on the Home Page. These moments might be exercises that you want learners to do over and over again. If you'd like your moment to live on the Home Page, be sure to toggle this option in the top right corner when creating the moment.
- Thumb images should be 800x1200 and we support the same file types as the Hero Image. The Bright team recommends leaving a 800x200 white space at the top of the image so that it fits nicely into the vignette that learners will see on the Home Page. Again, ask your account manager for assistance or direction to the Bright Image library if you'd like additional help here.
- Next, click 'Save' to create the moment. A green confirmation box will appear in the lower left corner of the page to let you know that the moment was created successfully.
- Once you are satisfied, you will need to tag the moment with Skills. Click the 'Skills' tab at the top.

- Click Add a Skill / Rating.

- Select from the Skills in your library. You can select multiple skills for an individual moment but note that system moments are pass/fail and coaches will not be rating them separately. You'll likely chose 1-2 skills and those skills should be aligned to the System Proficiency and the Transaction type. For example, one skill you might add for your system simulations is 'Salesforce Proficiency-Creating a Lead'. You can add multiple skills by repeating steps 15-16. If you do not see any skills, this means that you have not added any to your library. You will have to navigate to the Skills menu and add skills before being able to assign skills to this moment. See more information about this in our Skills Library article.

- Once complete, click the Save + Close button to return to the Moments menu.
How to Add an Audio File to a System Moment
You may wish to have Learners listen to something while they navigate the System moment you just finished. This could be a tutorial, walking them through the system and their next steps, or a customer call they need to hear to navigate the system and practice the transaction. You can set this up in the Preview tab of a System Moment.
Note: you do not have to add audio to every system moment but it is a way to increase the challenge for the learner so that they have to listen to a call in order to obtain the correct information for the simulation.
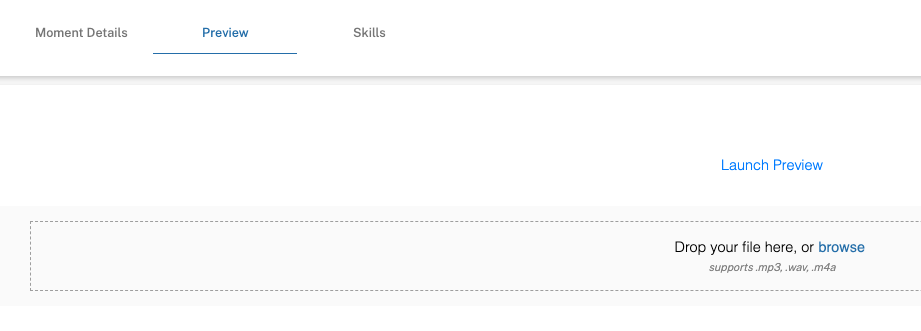
- Click on the 'Preview' tab. This is where you can overlay audio from a live call. Simply drag the audio file into the box or browse from your computer. It will take a few seconds to populate and then you will see the audio wave as a confirmation that it was uploaded successfully.

- From here you can listen to the audio, replace or delete the file. You also have the option to put in an 'Audio Break'. This means that you can automatically pause the audio at a certain timestamp if the learner has not reached a particular screen. It's a helpful way to ensure learners do not get left behind. It's also useful to input an initial audio break at 00:00 seconds and to chose the second screen in the canvas. There should always be instructions for the learner on the first screen in the canvas and you would likely want to give them time to read these instructions before the live call starts and they need to start entering information.
To enter an Audio Break, be sure to select the screen that the learner has to get to before the audio will resume. Next, click 'Add Breakpoint' and Save. A blue bubble with the timestamp and name of the screen will appear. Click the blue bubble. This will pop open the details of the Audio Break. From here you can change the seconds and add a Description. See this short video below.